Disclosure: This Post Contains Affiliate Links; We earn a commission on purchases.
Regular maintenance is essential to keep your electric grill performing optimally and extend its lifespan. By following these easy cleaning steps, you can ensure hassle-free grilling and keep your grill in great condition. This guide will provide you with all the necessary tips and tricks to make electric grill maintenance a breeze.
Key Takeaways:
- Regular maintenance is crucial to prolong the lifespan of your electric grill.
- Cleaning your electric grill thoroughly is the first step in maintenance.
- Inspect various components for wear and tear to address issues promptly.
- Seasoning your electric grill enhances the taste and protects it from rust.
- Proper storage is essential for off-season periods to protect your grill.
Why Regular Maintenance Matters
Regular maintenance of your electric grill is essential for its upkeep and offers several important benefits. By prioritizing regular maintenance, you can ensure optimal grilling performance, extend the lifespan of your grill, and most importantly, maintain food safety.
Improved Grilling Performance
Proper maintenance leads to more consistent cooking temperatures, resulting in better-tasting food. When your electric grill is well-maintained, it can reach and maintain the desired temperature more effectively, allowing you to cook your favorite dishes with precision and confidence.
Extended Lifespan
Regular maintenance significantly extends the lifespan of your electric grill. By keeping all of its components clean and in good working condition, you can minimize wear and tear, preventing the need for costly repairs or premature replacements. By investing time in maintenance, you’re ultimately saving money in the long run.
Food Safety
One of the most crucial aspects of regular maintenance is ensuring food safety. Over time, grills can accumulate grease, food particles, and other debris, which can harbor harmful bacteria and lead to cross-contamination. By regularly cleaning and sanitizing your grill, you can prevent the buildup of bacteria and enjoy safe and healthy meals with your loved ones.
“Regular maintenance of your electric grill not only improves its performance and extends its lifespan but also ensures the safety of the food you cook.”
To illustrate the benefits of regular maintenance, consider the following table:
| Better Grilling Performance | Extended Lifespan | Food Safety | |
|---|---|---|---|
| Benefits | Consistent cooking temperatures and better-tasting food | Minimizes wear and tear, saves money on replacements | Prevents cross-contamination and harmful bacteria buildup |
As you can see, regular maintenance is crucial for ensuring the optimal performance and longevity of your electric grill while prioritizing food safety. So, don’t overlook the importance of regular maintenance – it’s the key to enjoying countless delicious meals and memorable grilling experiences!
Cleaning Your Electric Grill
Maintaining a clean electric grill is crucial to ensure optimal grilling performance and longevity. In this section, we will guide you through the step-by-step cleaning process, highlighting the essential tools and supplies you’ll need. From removing grease and grime to tackling stubborn stains, these cleaning tips will leave your electric grill sparkling clean and ready for your next barbecue.
Preparing for Cleaning
Before starting the cleaning process, it’s important to take a few preparatory steps to ensure safety and efficiency:
- Disconnect the electric grill from the power source to avoid any electrical accidents.
- Allow the grill to cool down completely before cleaning to prevent burns.
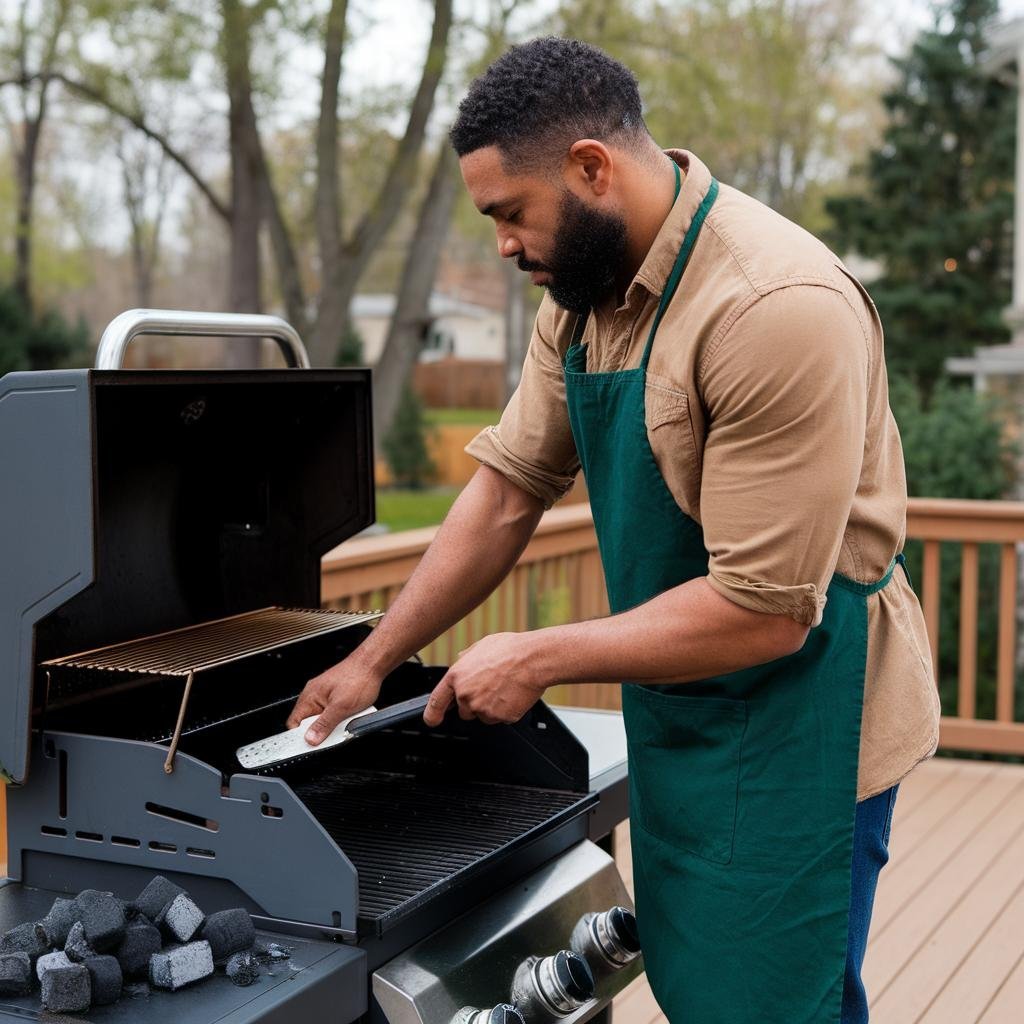
- Remove any excess debris, such as food particles or ashes, from the grill surface.
The Cleaning Process
Follow these simple steps to effectively clean your electric grill:
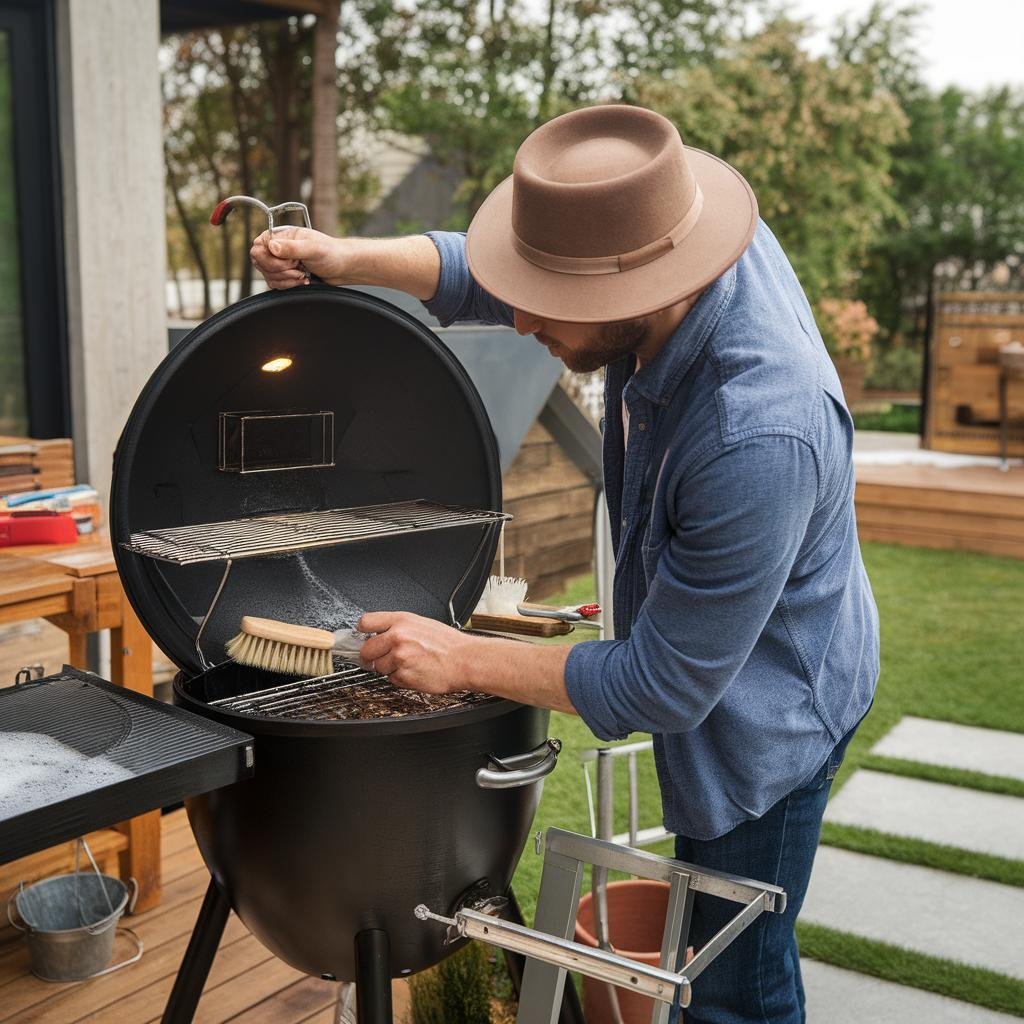
- Grate Cleaning: Remove the cooking grates and soak them in warm soapy water. Use a grill brush or sponge to scrub away any residue, and rinse thoroughly before drying.
- Drip Tray and Grease Collector: Empty the drip tray and grease collector and wash them with warm soapy water. For stubborn grease, use a degreasing agent or a mixture of baking soda and water.
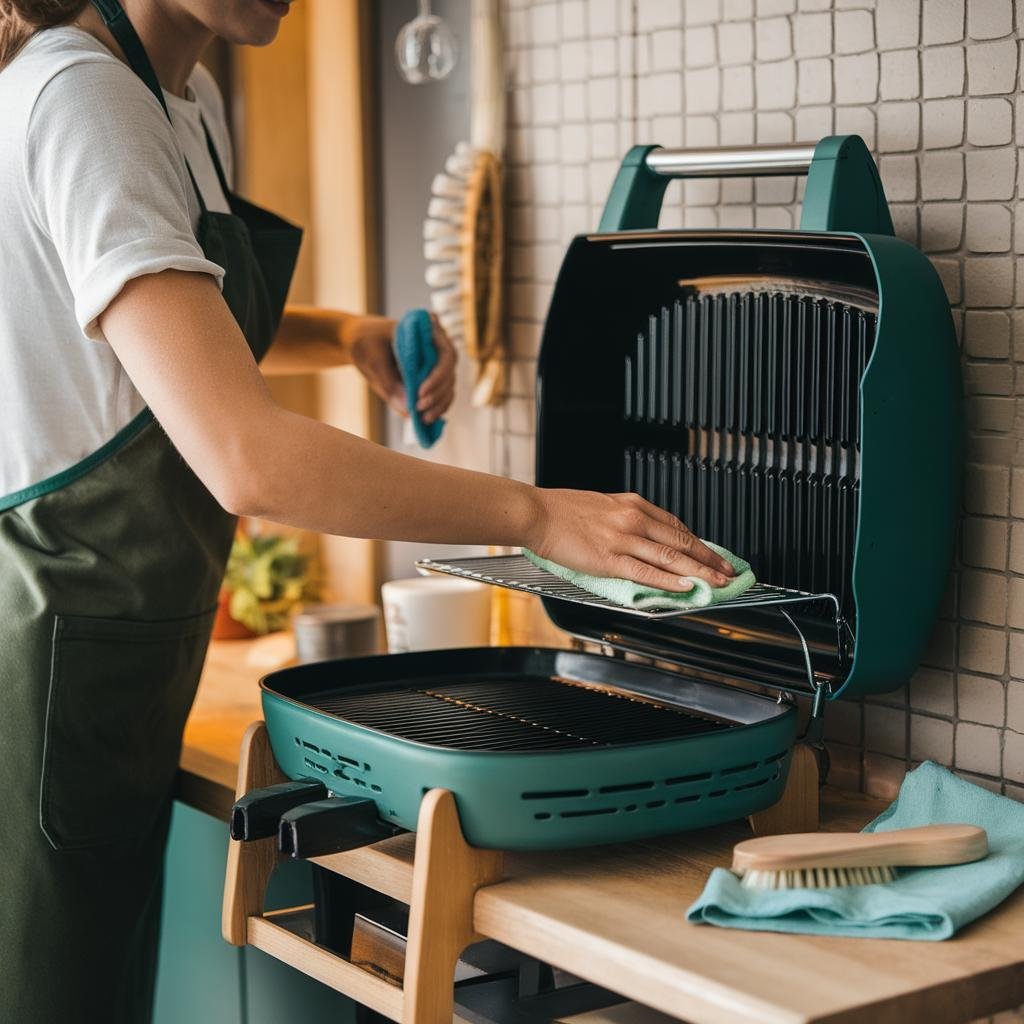
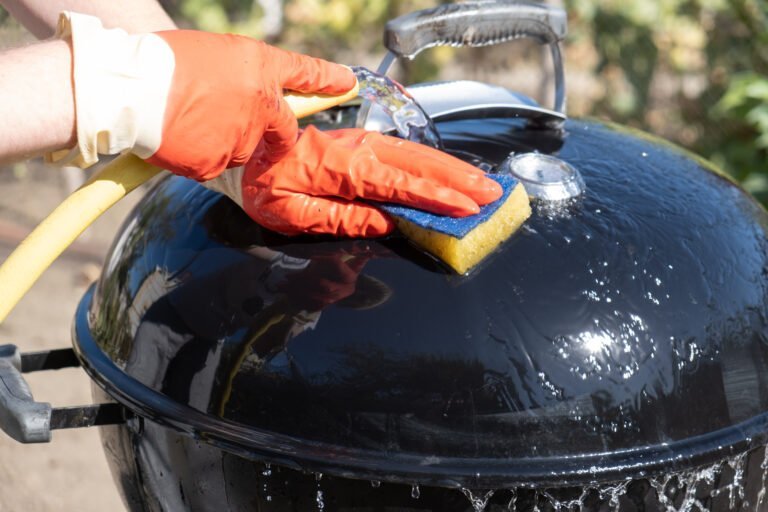
- Exterior Cleaning: Wipe down the exterior of the grill, including the lid, handles, and control knobs, with a damp cloth and mild soapy water. Avoid using abrasive cleaners that can damage the grill’s finish.
- Interior Cleaning: Clean the interior cavity of the grill, removing any food residue or grease buildup. Use a grill brush or sponge to scrub the walls and bottom of the grill. Rinse thoroughly and dry with a clean cloth.
Essential Cleaning Tools and Supplies
Having the right tools and supplies will make your electric grill cleaning process easier and more efficient. Here’s a list of the essentials:
- Grill brush: Use a grill brush with sturdy bristles to remove stubborn residue from the grates.
- Sponge or cloth: Use a non-abrasive sponge or cloth for wiping down the grill’s exterior and interior surfaces.
- Dish soap: Use mild dish soap for cleaning the grates, drip tray, and exterior of the grill.
- Degreasing agent: A degreasing agent can help tackle tough grease stains on the drip tray and grease collector.
- Baking soda: Create a paste using baking soda and water to remove stubborn grease and stains.
By following these cleaning tips and utilizing the essential tools and supplies, you can keep your electric grill clean and in top-notch condition. Regular cleaning will not only ensure optimal performance but also contribute to safe and enjoyable grilling experiences. Now, let’s move on to the next step in maintaining your electric grill: checking for wear and tear.
| Essential Cleaning Tools | Essential Cleaning Supplies |
|---|---|
|
|
Checking for Wear and Tear
As your electric grill gets older, it’s important to regularly inspect various components to identify and address any wear and tear issues that may arise. This ensures that your grill continues to perform at its best and avoids any potential safety hazards. In this section, we’ll guide you through the key areas to check and provide you with tips on how to maintain and care for your grill.
Inspecting Burners and Ignition System
The burners and ignition system are crucial components for the proper functioning of your electric grill. Regularly inspect them to ensure they are clean and in good condition. Make sure the burners are free from debris and any blockages that can affect the flow of gas or heat distribution. Check the ignition system to ensure it sparks consistently and ignites the burners effectively.
Assessing Gas Lines and Propane Tanks (for gas grills)
If you have a gas grill, it’s essential to inspect the gas lines and propane tanks regularly. Look for any signs of leaks, such as hissing sounds or the smell of gas. Examine the gas lines for cracks, kinks, or signs of wear. Ensure propane tanks are properly secured and not past their expiration date. If you notice any issues, it’s crucial to get them repaired or replaced by a professional.
Examining Charcoal Grates and Ash Collection
For charcoal grills, the charcoal grates and ash collection area need attention. Inspect the grates for any signs of warping or damage. Clean out the ash collection area, as a buildup of ash can restrict airflow and impair the grilling performance. Proper maintenance of these components ensures even heat distribution and helps avoid flare-ups.
Identifying Rust or Corrosion
Rust and corrosion can not only affect the appearance of your grill but also compromise its durability and functionality. Regularly check the grill’s exterior, including the cooking surface and metal parts, for any signs of rust or corrosion. If you find any, remove the rust with a wire brush, treat the area with a rust converter, and apply heat-resistant paint to protect against further damage.
Lubricating Moving Parts
To ensure smooth operation, it’s important to lubricate the moving parts of your electric grill. Apply a food-safe lubricant to hinge points, handles, wheels, and any other moving components. This helps prevent excessive friction, reduces wear, and extends the lifespan of your grill.
| Areas to Check | Actions to Take |
|---|---|
| Burners and Ignition System | Inspect for cleanliness and functionality. Clean or replace as needed. |
| Gas Lines and Propane Tanks (for gas grills) | Check for leaks and damage. Repair or replace if necessary. |
| Charcoal Grates and Ash Collection | Examine for damage and clean out ash regularly. |
| Rust or Corrosion | Identify and address rust or corrosion promptly to prevent further damage. |
| Moving Parts | Lubricate to ensure smooth operation and prevent wear. |
By regularly inspecting these key areas and taking appropriate maintenance measures, you can ensure your electric grill remains in optimal condition and continues to provide you with delicious grilled meals for years to come.
Seasoning Your Electric Grill
Seasoning your electric grill is like giving it a flavorful makeover. Not only does it enhance the taste of your food, but it also protects your grill from rust. In this section, we’ll explore the concept of grill seasoning, highlight its benefits, and provide a step-by-step process for seasoning your electric grill. By following these tips, you’ll ensure your grill stays in top-notch condition for many grilling adventures to come.
The Benefits of Grill Seasoning
Before we dive into the step-by-step process, let’s take a moment to understand the benefits of seasoning your electric grill.
1. Enhances Flavor: Seasoning creates a natural non-stick surface that enhances the flavor of your food, creating a deliciously charred and smoky taste.
2. Prevents Rust: By coating the surface of your grill with a layer of seasoning, you create a protective barrier that prevents rust and corrosion, extending the lifespan of your electric grill.
3. Easy Cleanup: A seasoned grill is easier to clean as the layer of seasoning prevents food from sticking, making it a breeze to remove residue and debris.
Step-by-Step Seasoning Process
Now, let’s go through the step-by-step process of seasoning your electric grill:
- Preparation: Start by cleaning your grill thoroughly to remove any lingering residues. Follow the instructions provided by the manufacturer for cleaning your specific model.
- Coat with Oil: Once your grill is clean and dry, coat the cooking surface with a high-heat oil such as vegetable oil or canola oil. Apply the oil using a brush or a paper towel to ensure even coverage.
- Heat the Grill: Next, turn on your grill and set it to a medium-high heat. Allow it to preheat for about 15 minutes, allowing the oil to penetrate and create a protective layer on the cooking surface.
- Repeat the Process: For the best results, repeat the oil coating and heating process 2-3 times. This will further enhance the seasoning and create a robust layer of protection on your grill.
- Cool Down and Wipe: Once you’ve completed the seasoning process, turn off the grill and allow it to cool down. Use a clean cloth or paper towel to wipe away any excess oil.
And voila! Your electric grill is now seasoned and ready to unleash its full grilling potential.
| Benefits | Description |
|---|---|
| 1. Enhances Flavor | Creates a deliciously charred and smoky taste |
| 2. Prevents Rust | Forms a protective barrier against rust and corrosion |
| 3. Easy Cleanup | Prevents food from sticking, making cleanup a breeze |
Storing Your Electric Grill
When the grilling season comes to a close or you won’t be using your electric grill for an extended period, proper storage becomes essential. Taking the necessary steps to prepare your grill for off-season storage and finding the ideal storage location can ensure its longevity. Additionally, using a weatherproof cover is crucial for protecting your grill from the elements. Follow these storage tips to keep your electric grill safe until the next grilling season.
1. Prepare your grill for off-season storage:
- Clean the grill thoroughly to remove any grease or food residue. This prevents the buildup of grime that can be harder to clean later.
- Check and replace any worn-out parts, such as grates or burners, before storing your grill. This ensures it’s in top shape when you’re ready to use it again.
- Disconnect the power supply and remove the plug.
2. Find the ideal storage location:
- Choose a cool, dry place to store your grill. Avoid areas prone to high humidity or extreme temperature fluctuations.
- If possible, store your grill indoors, such as in a garage or shed, to offer additional protection from the elements.
3. Cover your grill for protection:
- Invest in a weatherproof cover specifically designed for your electric grill’s dimensions.
- Ensure the cover fits snugly and securely, providing complete coverage.
- Using a cover protects your grill from dust, dirt, moisture, and other environmental factors that can cause damage.
By following these storage tips, you’ll ensure your electric grill remains in excellent condition during its time in storage. When the next grilling season arrives, you’ll be ready to fire up your grill and continue enjoying delicious meals.
Troubleshooting Common Issues
Despite regular maintenance, your electric grill may encounter common issues that can hinder your grilling experience. Don’t worry! This section provides valuable troubleshooting tips to help you address these problems effectively. Whether your grill won’t ignite, suffers from uneven heat distribution, experiences excessive flare-ups, or faces frequent gas leaks (for gas grills), we’ve got you covered. Additionally, we’ll share essential safety tips to keep in mind during your grill maintenance routine.
Grill Won’t Ignite?
If your electric grill refuses to ignite, there are a few steps you can take to troubleshoot the issue:
- Ensure that the grill is properly plugged into a functioning power outlet.
- Check the power cord for any signs of damage. If damaged, replace the cord before attempting to use the grill.
- Inspect the heating element for any blockages or buildup that may be preventing ignition. Clean if necessary.
- Make sure the temperature control knob is set to the desired temperature and is functioning correctly.
Uneven Heat Distribution?
Uneven heat distribution can result in improperly cooked food. Follow these steps to tackle this issue:
- Ensure that the grill’s cooking surface is clean, as debris can obstruct heat distribution.
- Check the grill’s temperature control knob to ensure it is properly adjusted. Experiment with different temperature settings to achieve even heat.
- Verify that the heating element is functioning correctly. If not, it may need to be replaced.
Excessive Flare-Ups?
Excessive flare-ups can be a safety concern and can lead to overcooked or burnt food. Use these tips to manage flare-ups:
- Trim excess fat off meats to minimize grease flare-ups.
- Avoid placing fatty foods directly over high heat to reduce the likelihood of flare-ups.
- Consider using a drip tray or foil to catch excess drippings and prevent flare-ups.
Frequent Gas Leaks (For Gas Grills)?
If you’re using a gas grill and experiencing frequent gas leaks, take these precautions:
- Regularly check the gas hose and connections for any signs of wear or damage. Replace if necessary.
- Apply a soap and water solution to the gas connections and look for any bubbles, indicating a leak. If bubbles are present, shut off the gas supply immediately and repair or replace the faulty component.
- Follow the manufacturer’s instructions for properly connecting the gas tank to the grill to prevent leaks.
Remember, your safety is paramount during grill maintenance. Here are some general safety tips to follow:
- Always read and follow the manufacturer’s instructions for your specific electric grill model.
- Perform maintenance and troubleshooting tasks only when the grill is cool and disconnected from the power source.
- Wear appropriate protective gear, such as heat-resistant gloves, when handling hot components.
- Store grill accessories, such as cleaning brushes and utensils, in a safe location away from children.
With these troubleshooting tips and safety measures in mind, you’ll be well-equipped to address common issues that may arise with your electric grill. By staying proactive and maintaining your grill regularly, you can ensure optimal performance, delicious meals, and a safe grilling experience.
Conclusion
Congratulations! You’ve now become an expert in maintaining your electric grill. This comprehensive maintenance guide has provided you with all the necessary tips and guidelines to ensure that your electric grill stays in optimal condition for years to come. By following the easy cleaning steps, checking for wear and tear, properly seasoning your grill, storing it correctly, and troubleshooting common issues, you can keep your grill in great shape and enjoy hassle-free grilling experiences.
Regular maintenance is the key to prolonging the lifespan of your electric grill and ensuring safe and delicious grilling. By implementing the tips mentioned in this guide, you can prevent issues such as uneven heat distribution, excessive flare-ups, and gas leaks. Additionally, proper cleaning and seasoning will not only improve the performance of your grill but also enhance the flavor of your food.
Now that you have all the tools and knowledge to make electric grill maintenance a breeze, it’s time to fire up your grill with confidence and embark on countless grilling adventures. Remember to refer back to this guide whenever you need a refresher on maintenance tips or troubleshooting techniques. Happy grilling!
Source Links
- https://www.apge.com/blog/bbq-grill-maintenance-made-easy-follow-these-simple-steps
- https://www.wikihow.com/Clean-an-Electric-Grill
- https://scillsgrill.com/blog/how-to-clean-an-electric-grill/

Ryan Conlon is a BBQ enthusiast and inspired chef on a journey through the smoky, savory world of outdoor cooking. Hailing from the heart of the Midwest, Ryan’s passion for grilling ignited during his early years, where family gatherings often revolved around the sizzle of the grill and the aroma of seasoned meats.

