Disclosure: This Post Contains Affiliate Links; We earn a commission on purchases.
Wood-Fired Pizza Mastery is a culinary skill that combines the art of pizza making with the use of wood-fired ovens. With the right pizza cooking techniques and knowledge of oven temperatures for pizza, you can create delicious and authentic Italian pizzas at home. This article will provide tips and recipes for mastering the art of wood-fired pizza, including how to make handmade pizza dough, traditional pizza making methods, and the maintenance of outdoor pizza ovens.
Key Takeaways:
- Learn the pizza cooking techniques and oven temperatures for pizza to create authentic Italian pizzas at home.
- Master the art of making handmade pizza dough to elevate the taste and texture of your wood-fired pizzas.
- Explore traditional pizza making methods, such as stretching and shaping the dough, for an authentic Neapolitan-style experience.
- Choose the right wood-fired pizza oven that suits your budget, space, and fuel preferences.
- Maintain your wood-fired pizza oven properly to ensure optimal performance and longevity.
The Importance of Oven Temperatures for Wood-Fired Pizza
To achieve the perfect wood-fired pizza, understanding oven temperatures is crucial. A wood-fired pizza oven typically reaches temperatures between 400 to 450°C (752 to 842°F), which allows for a crispy pizza crust and beautifully charred toppings. The extreme heat from the oven floor cooks the dough from the bottom up, while the internal temperature cooks the toppings from the top down, resulting in a pizza with even cooking and delicious flavors. Maintaining the optimal oven temperature is key to achieving the desired texture and taste of a wood-fired pizza.
When the oven is preheated to the optimal temperature, the intense heat quickly cooks the dough, creating a crispy exterior and a soft, chewy interior. This contrast in texture is what makes wood-fired pizza so delightful to bite into. The high temperature also caramelizes the natural sugars in the dough, adding depth and flavor to the crust.
Additionally, the intense heat of a wood-fired oven causes the toppings to char slightly, adding complexity and a smoky aroma to the overall flavor profile of the pizza. The charring also enhances the visual appeal of the pizza, giving it an appetizing and rustic appearance.
Pro Tip: To ensure even cooking, it’s essential to rotate the pizza during the baking process. This prevents any hot spots in the oven from causing uneven browning or burning of the crust or toppings.
Optimal Oven Temperature vs. Cooking Time
It’s important to note that the optimal oven temperature may vary depending on the type of pizza dough and toppings you’re using. Thicker dough or dough with a higher hydration level may require a slightly lower temperature to ensure proper cooking without burning. Thin and crispy dough, on the other hand, benefits from higher temperatures to achieve a perfectly crisp crust.
Here’s a general guideline for the optimal oven temperature and cooking time:
| Type of Pizza | Optimal Oven Temperature | Cooking Time |
|---|---|---|
| Neapolitan-style | 400 to 450°C (752 to 842°F) | 1 to 2 minutes |
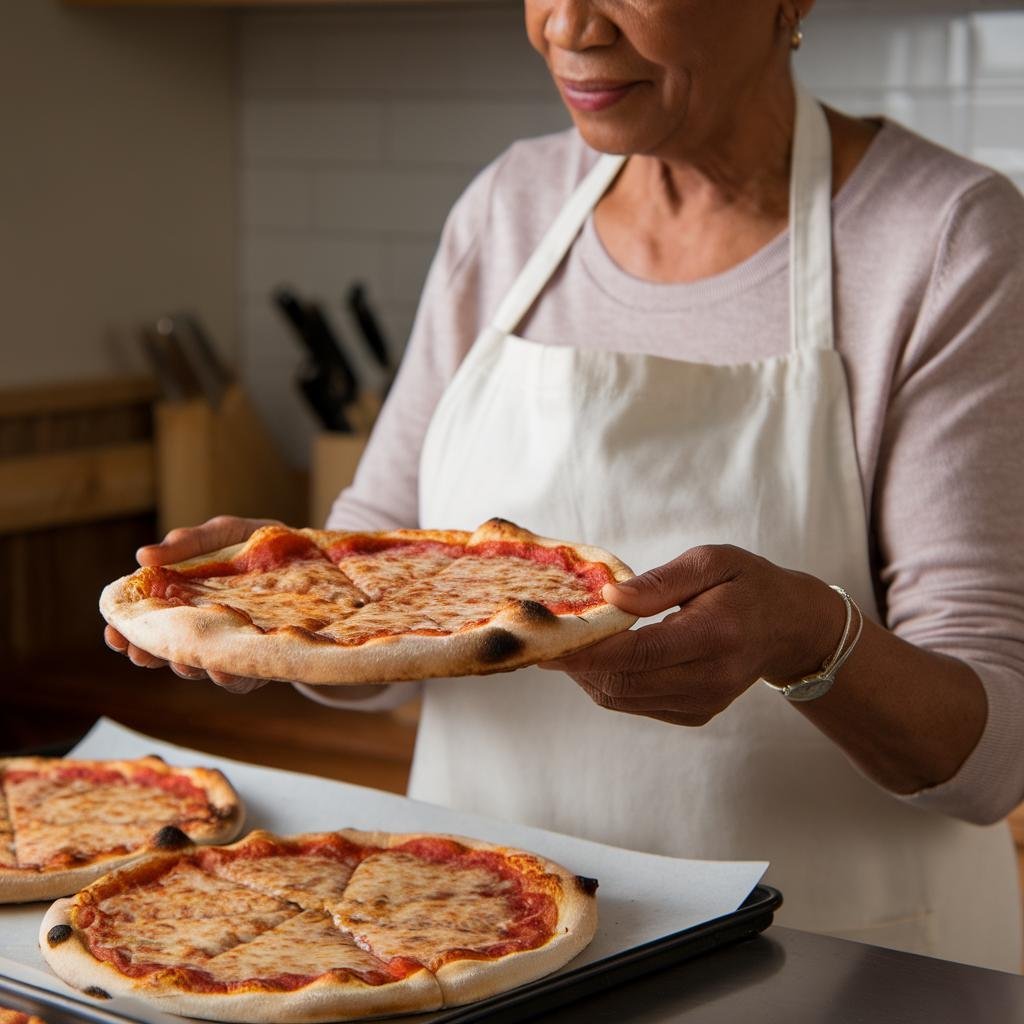
| New York-style | 350 to 400°C (662 to 752°F) | 12 to 15 minutes |
| Thin and crispy | 450 to 500°C (842 to 932°F) | 5 to 7 minutes |
Remember, these are just guidelines, and it’s essential to experiment and adjust the temperature and cooking time based on your oven’s unique characteristics and your desired pizza outcome.
The Art of Handmade Pizza Dough
The foundation of a great wood-fired pizza lies in the dough, and making homemade pizza dough is an essential skill. Start with high-quality flour, such as those from Anson Mills, Castle Valley, or Lindley Mills. You can use a sourdough starter or instant yeast for the dough, depending on your preference. Kneading the dough properly is crucial to ensure it has the right consistency and texture. Practice shaping the dough into a thin, even disk and let it rise to develop its flavor. Handmade dough adds a personal touch to your wood-fired pizzas and enhances the overall taste and texture.
Flour Selection
Choosing the right flour for your homemade pizza dough is a crucial step in achieving the desired texture and flavor. Opt for high-quality flours from trusted brands like Anson Mills, Castle Valley, or Lindley Mills. These brands offer a range of flours, including all-purpose, bread, and tipo 00 flour, specifically designed for pizza making. Experiment with different flours to find the one that suits your taste preferences and desired pizza crust.
Yeast Options
When it comes to yeast, you have the option of using a sourdough starter or instant yeast for your homemade pizza dough. Sourdough starter adds complexity and flavor to the dough, while instant yeast provides convenience and a faster rise. Choose the yeast option that aligns with your baking experience and the time you have available. Both options can yield excellent results when used correctly.
Dough Preparation
To prepare the dough, start by combining the flour, yeast (either sourdough starter or instant yeast), salt, and water in a mixing bowl. Mix the ingredients until they come together, then transfer the dough onto a floured surface. Knead the dough for about 10 minutes, using a folding, pressing, and stretching motion. This process develops gluten, resulting in a more elastic dough. Once the dough is smooth and springy, shape it into a ball and place it in a lightly greased bowl. Cover the bowl with plastic wrap and let the dough rise in a warm, draft-free area until it doubles in size.
Kneading Techniques
Kneading the dough properly is essential for developing gluten and creating a light and airy texture. Here are a few kneading techniques you can use:
- Folding: Fold the dough in half, then press it down and away from you with your palm. Rotate the dough 90 degrees and repeat the process.
- Pressing: Use the heel of your hand to press the dough away from you. Then, fold it in half and repeat the process.
- Stretching: Grab the dough from the far edge, pull it up and over, then press it down with your palm. Rotate the dough and repeat.
Continue kneading the dough until it becomes smooth, elastic, and springs back when pressed with your finger.
Once the dough has risen, it is ready to be shaped into pizza disks. Divide the dough into smaller portions, and shape each one by gently stretching and pressing it into a thin, even disk. You can use a rolling pin if needed, but hand-stretching creates a more authentic texture. Let the shaped dough rest for a few minutes before topping it with your favorite ingredients and baking it in your wood-fired pizza oven.
Traditional Pizza Making Techniques
When it comes to creating authentic wood-fired pizzas, traditional pizza making techniques play a vital role. These techniques, often associated with Neapolitan-style pizza, are centered around the art of stretching and shaping the dough by hand. By following these time-honored methods, you can achieve a thin and airy crust that cooks evenly in the wood-fired oven, resulting in a truly satisfying pizza experience.
One key aspect of traditional pizza making is ensuring even topping distribution. This ensures that each bite has the perfect balance of flavors. Whether you’re spreading a rich tomato sauce, scattering fresh vegetables, or layering savory meats, it’s important to evenly distribute the toppings across the pizza dough for a consistent taste sensation.
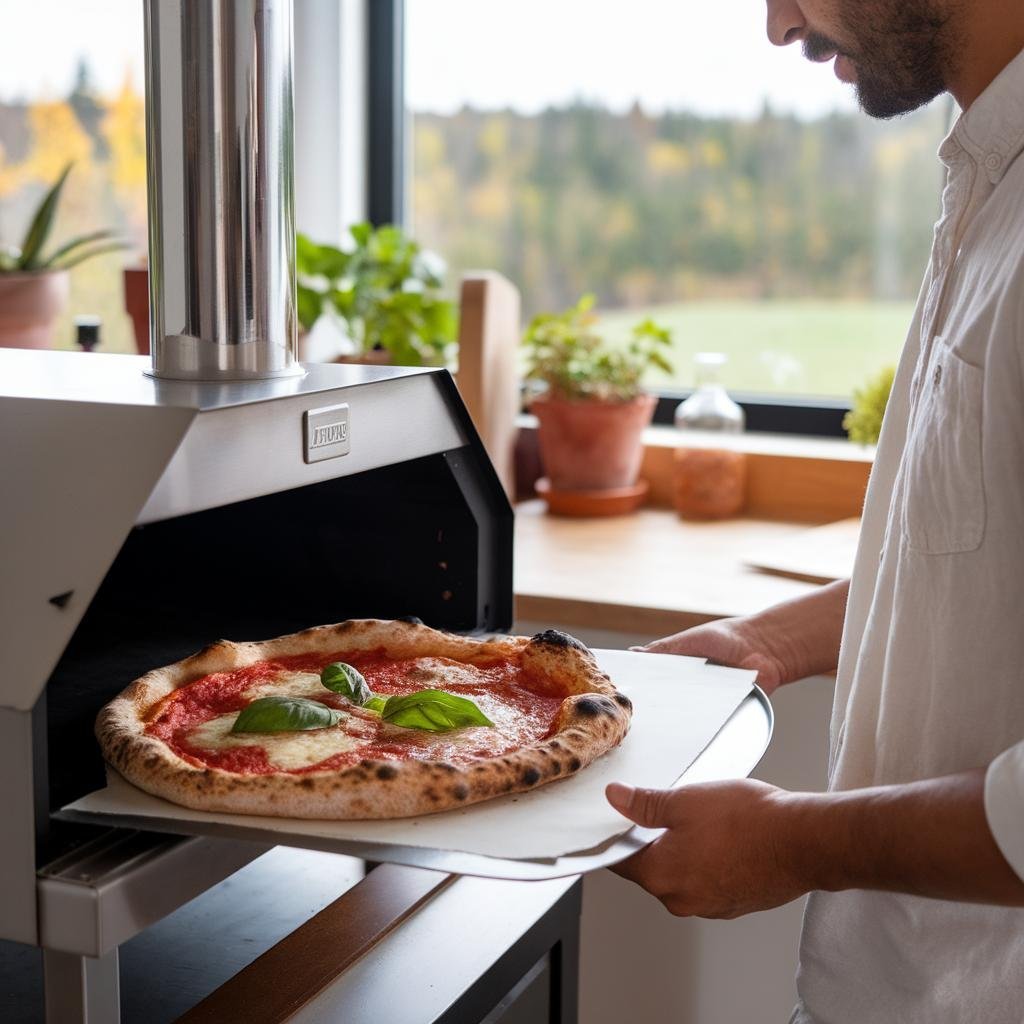
To transfer your carefully crafted pizza into the hot cooking environment, a pizza peel is an essential tool. Coating the peel generously with a mixture of semolina and flour ensures a smooth transfer of the pizza onto the cooking surface. This step is crucial for preserving the integrity of your pizza’s shape and avoiding any mishaps during the cooking process.
These traditional pizza making techniques not only enhance the authenticity of wood-fired pizza but also contribute to its unique taste and texture. They have been passed down through generations in Italy and are now being cherished by pizza enthusiasts around the world.
The beauty of Neapolitan-style pizza
Neapolitan-style pizza, characterized by its thin, soft, and slightly chewy crust, is a true delight to the palate. The secret lies in the hand-stretched dough, cooked quickly at high temperatures, resulting in a light yet flavorful base for a variety of delicious toppings.
Steps for stretching and shaping pizza dough:
- Divide the dough into individual portions for each pizza.
- Using your hands, gently stretch the dough from its center outwards, rotating it as you go to maintain an even thickness.
- Avoid using a rolling pin, as it can compress the dough and compromise its texture.
- Continue stretching until the dough reaches your desired size and thinness, keeping in mind that thinner crusts cook more quickly.
Tips for even topping distribution:
- Start with a thin layer of sauce, spreading it evenly across the dough with the back of a spoon.
- Distribute your chosen toppings evenly, considering their flavors and textures.
- Pay attention to spacing, ensuring that each slice will have a harmonious combination of ingredients.
The role of a pizza peel in wood-fired pizza:
A pizza peel is a flat, paddle-like tool used to transfer pizzas in and out of the oven. To enable smooth movement, it is important to prepare the peel by generously coating it with a mixture of semolina and flour. This prevents the dough from sticking to the peel and allows for effortless sliding onto the hot cooking surface.
| Traditional Pizza Making Techniques | Advantages |
|---|---|
| Hand-stretched dough | Creates a thin and airy crust |
| Even topping distribution | Balances flavors in every bite |
| Use of a pizza peel | Facilitates smooth transfer onto the cooking surface |
Choosing the Right Wood-Fired Pizza Oven
Selecting the right wood-fired pizza oven is essential for achieving wood-fired pizza mastery. Whether you prefer the traditional charm of a brick pizza oven or the convenience of a modern outdoor pizza oven, there are several factors to consider when making your choice.
Oven Selection Factors
When choosing a wood-fired pizza oven, take into account the following factors:
- Budget: Determine how much you are willing to invest in your pizza oven. Brick pizza ovens tend to be more expensive, while outdoor pizza ovens offer a range of options at different price points.
- Available Outdoor Space: Consider the size of your outdoor area and ensure that the oven you choose fits comfortably in the designated space.
- Desired Cooking Capacity: Assess your cooking needs and select an oven that can accommodate the number of pizzas you wish to bake at once.
- Fuel Preferences: Decide on the type of fuel you want to use for your oven. Wood-fired ovens are traditionally fueled by wood, but there are also options available for gas or charcoal-powered ovens.
Popular Brands
Exploring different oven options and brands will help you find the perfect match for your wood-fired pizza journey. Here are a few popular brands known for their quality and performance:
- Cru Wood Fired Pizza Oven: This standout model offers optimal performance and ease of use. It is designed with precision and craftsmanship to deliver exceptional results.
- Fontana Forni: Known for their traditional brick pizza ovens, Fontana Forni offers a range of sizes and styles to suit every pizza enthusiast.
- Ooni: Specializing in portable outdoor pizza ovens, Ooni combines convenience with top-notch performance. Their ovens are compact, lightweight, and perfect for outdoor gatherings.
When selecting a wood-fired pizza oven, consider your individual preferences and needs. Each brand and model offers unique features and advantages, allowing you to find the perfect oven to bring your wood-fired pizza creations to life.
| Brand | Description |
|---|---|
| Cru Wood Fired Pizza Oven | A standout model known for its optimal performance and ease of use. |
| Fontana Forni | Offers a range of traditional brick pizza ovens in different sizes and styles. |
| Ooni | Specializes in portable outdoor pizza ovens that are compact and lightweight. |
Maintaining Your Wood-Fired Pizza Oven
Proper maintenance of your wood-fired pizza oven is crucial to ensure optimal performance and longevity. By following these guidelines for oven maintenance, cleaning tips, temperature control, proper ventilation, and safe setup, you can enjoy delicious wood-fired pizzas for years to come.
Oven Maintenance
Regular cleaning of the oven’s interior and exterior is essential to prevent the build-up of ash and debris. Use a soft brush or cloth to remove any loose residue after each use. For more thorough cleaning, allow the oven to cool completely and then gently scrape away any remaining debris. Avoid using harsh chemicals or abrasive materials that can damage the oven’s surface.
Cleaning Tips
To maintain the cleanliness of the oven, periodically remove the cooking grates and clean them with warm soapy water. Rinse them thoroughly and allow them to dry completely before reinstalling. Wipe down the oven walls and floor with a damp cloth to remove any residual ash or grease. Ensure that all surfaces are dry before lighting a fire in the oven.
Temperature Control
Proper temperature control is crucial for achieving the desired cooking temperature for wood-fired pizzas. Use a reliable oven thermometer to monitor the internal temperature. Preheat the oven to the recommended temperature range for your pizza recipe, typically around 400 to 450°C (752 to 842°F). Allow the oven to stabilize at the desired temperature before placing your pizza inside for cooking.
Proper Ventilation
Ensuring proper ventilation is important to maintain consistent airflow and heat circulation within the oven. Check that the vents and chimney are clear of any obstructions such as debris or bird nests. Adequate ventilation prevents the accumulation of smoke and helps prevent issues like excessive soot buildup on the oven walls or uneven cooking.
Safe Setup
When setting up your wood-fired pizza oven, it is important to choose a level surface that can safely support the weight of the oven. Ensure that the oven is placed on a heat-resistant surface or a specially designed stand. Leave adequate clearance around the oven to prevent fire hazards and maintain a safe distance from flammable materials. Follow the manufacturer’s instructions for proper installation and setup to ensure safe and efficient operation.
By following these oven maintenance practices, cleaning tips, temperature control guidelines, proper ventilation techniques, and safe setup instructions, you can extend the lifespan of your wood-fired pizza oven and continue to enjoy delicious homemade pizzas cooked to perfection.
Conclusion
Wood-fired pizza mastery is the perfect blend of techniques, traditional recipes, and a genuine passion for the art of pizza making. By honing your skills in oven temperature control, creating homemade dough, mastering traditional techniques, and properly maintaining your wood-fired pizza oven, you can create mouthwatering and authentic pizzas right in the comfort of your own home.
Take your pizza-making to the next level by experimenting with different toppings, flavors, and cooking methods. Make it a truly personalized experience for you and your loved ones. With dedication, practice, and the invaluable tips and techniques shared in this article, you’ll soon become a wood-fired pizza master, impressing everyone with your homemade pizzas that rival those found in traditional pizzerias.
So, embrace the joy of crafting your own wood-fired pizzas and let your creativity run wild. With every bite, you’ll savor the fruits of your labor and enjoy the rich flavors that only homemade pizzas can offer. Get ready to indulge in the satisfaction of a job well done and the delicious rewards that come with it. Happy pizza-making!
Source Links
- https://greenbeanbookspdx.indielite.org/book/9798886509830
- https://cruovens.com/blogs/fire-oven-blog/how-to-cook-pizza-in-a-wood-fired-oven-full-2021-guide
- https://www.saveur.com/story/food/mastering-the-art-of-neapolitan-style-pizza/

Ryan Conlon is a BBQ enthusiast and inspired chef on a journey through the smoky, savory world of outdoor cooking. Hailing from the heart of the Midwest, Ryan’s passion for grilling ignited during his early years, where family gatherings often revolved around the sizzle of the grill and the aroma of seasoned meats.


