Disclosure: This Post Contains Affiliate Links; We earn a commission on purchases.
Welcome to our guide on achieving the perfect sear on your steaks and burgers. Searing is an essential technique that can transform your meat, enhancing both flavor and presentation. Contrary to popular belief, searing is not about sealing in juices. Instead, it creates a delicious caramelized crust and intensifies the taste. Whether you’re grilling, baking, braising, roasting, or sautéing, mastering the art of searing will take your cooking to the next level.
Key Takeaways:
- Searing enhances the flavor and appearance of meat by caramelizing sugars and browning the surface.
- Searing can be done using different methods such as grill and sear, pan sear, or reverse sear.
- Pre-salting and resting the steak before searing promotes better browning and tenderness.
- Flipping the steak frequently and basting it with butter or oil enhances the flavor and texture.
- Pan searing offers quick cooking, control over doneness, and delicious drippings for sauces.
Top 3 Searing Methods: Grill and Sear, Pan Sear, Reverse Sear
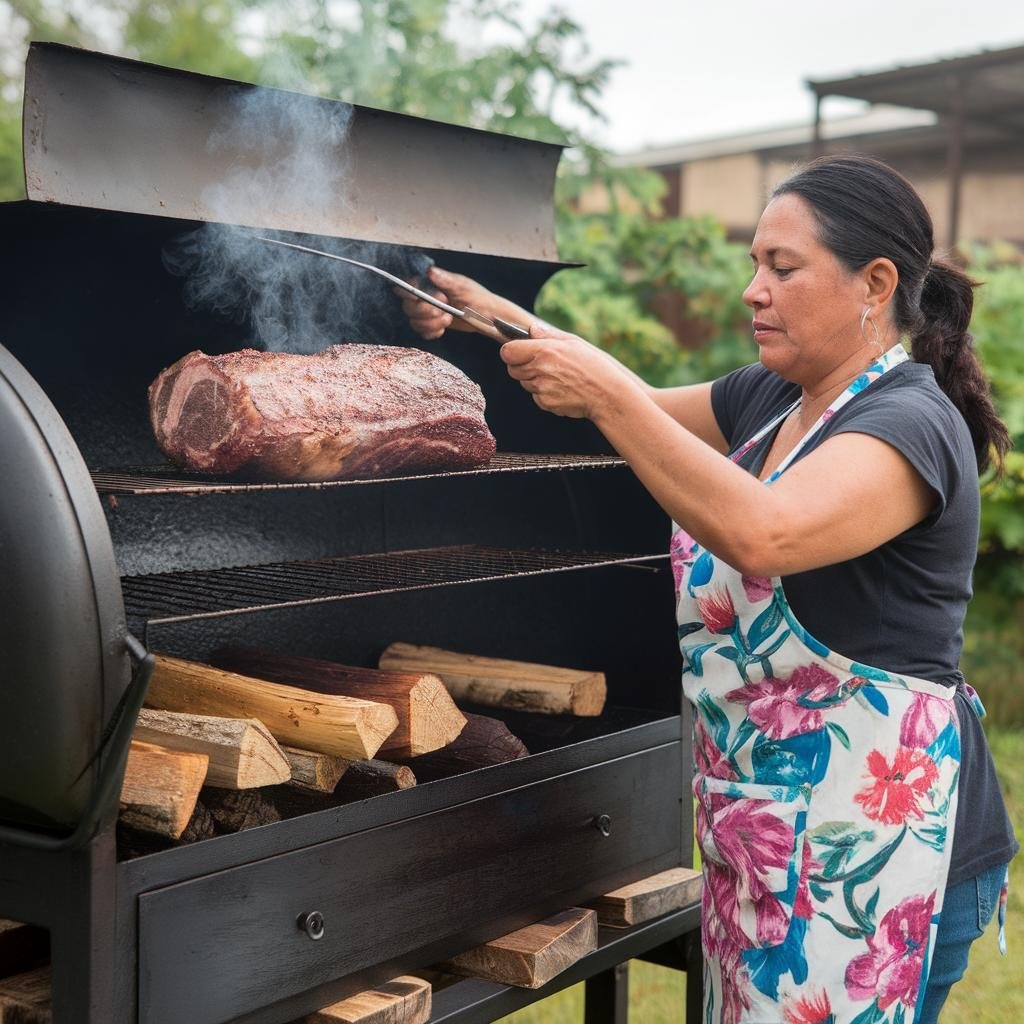
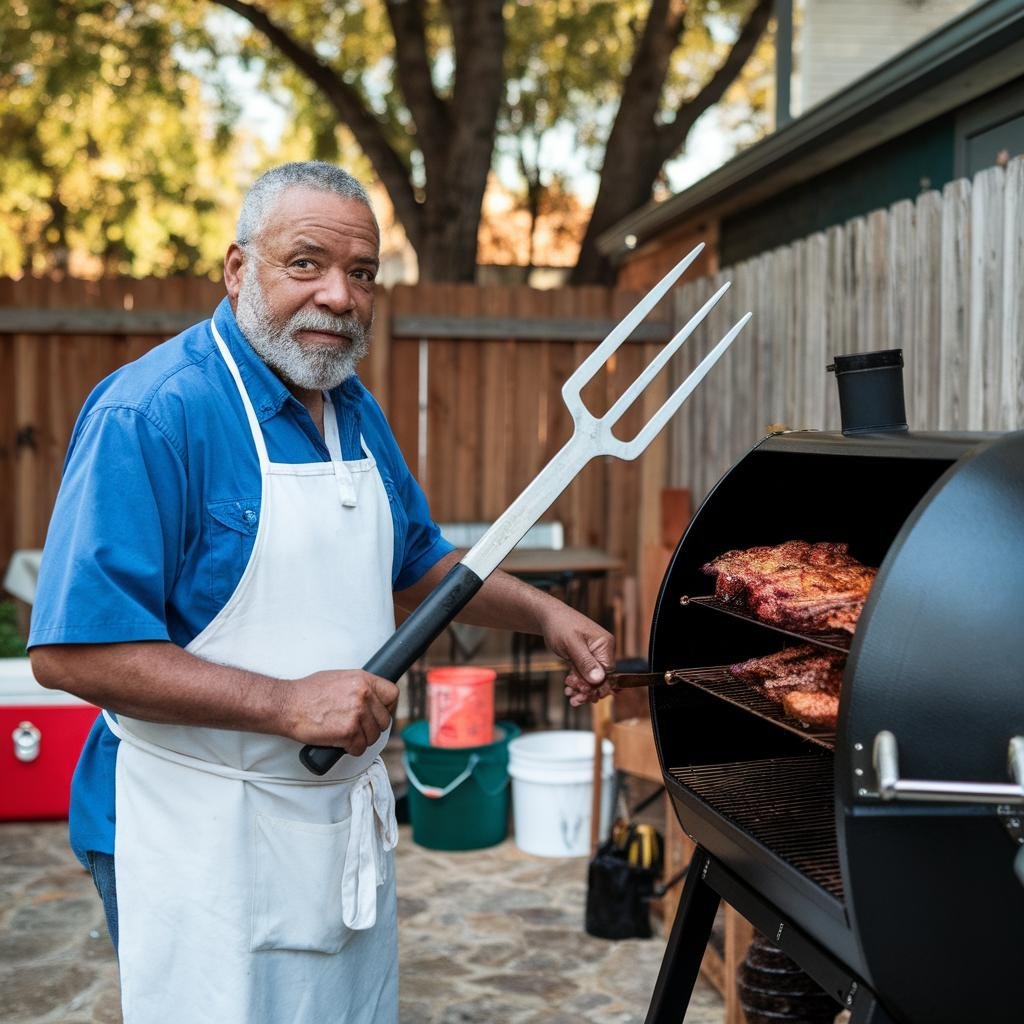
When it comes to achieving that perfect sear on your steaks, there are three tried-and-true methods that stand out above the rest: grill and sear, pan sear, and reverse sear. Each method offers its own unique advantages and can be a game-changer in the kitchen. Let’s explore each method in detail.
Grill and Sear
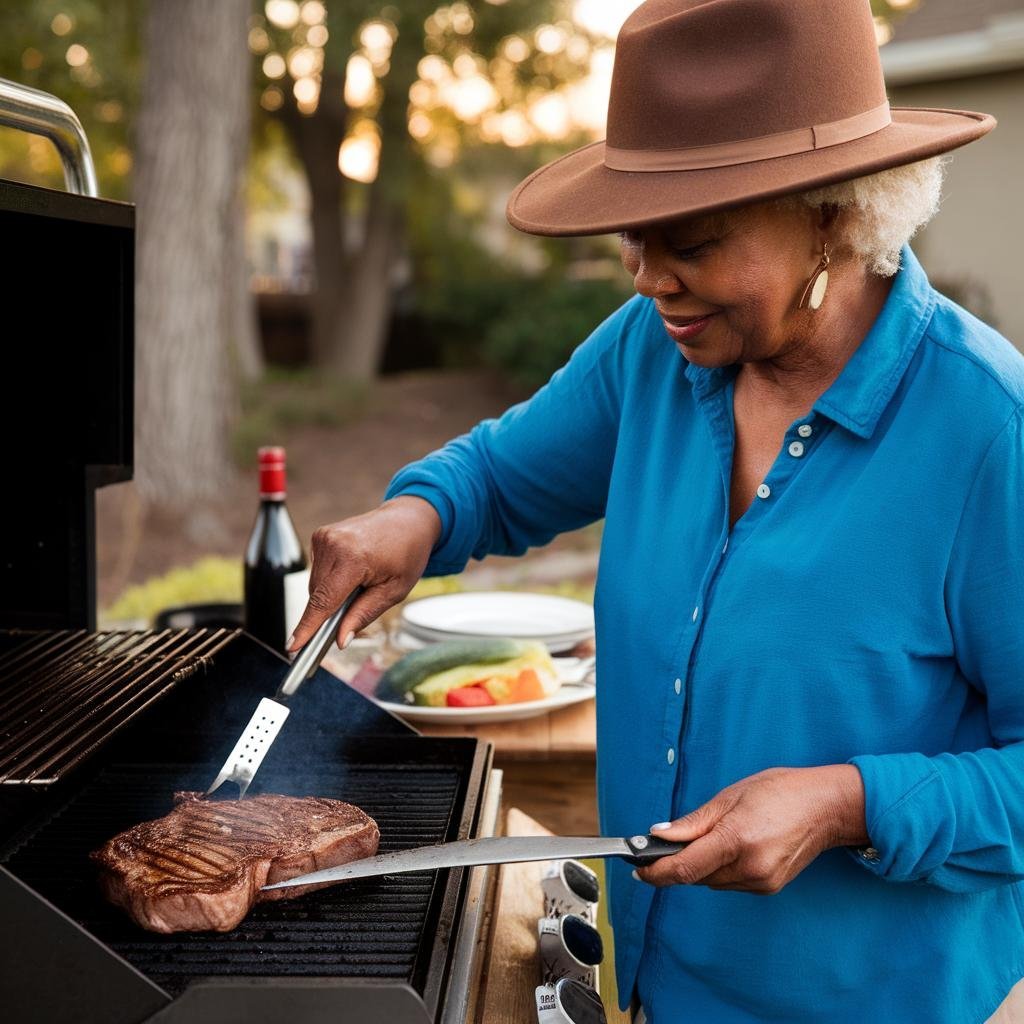
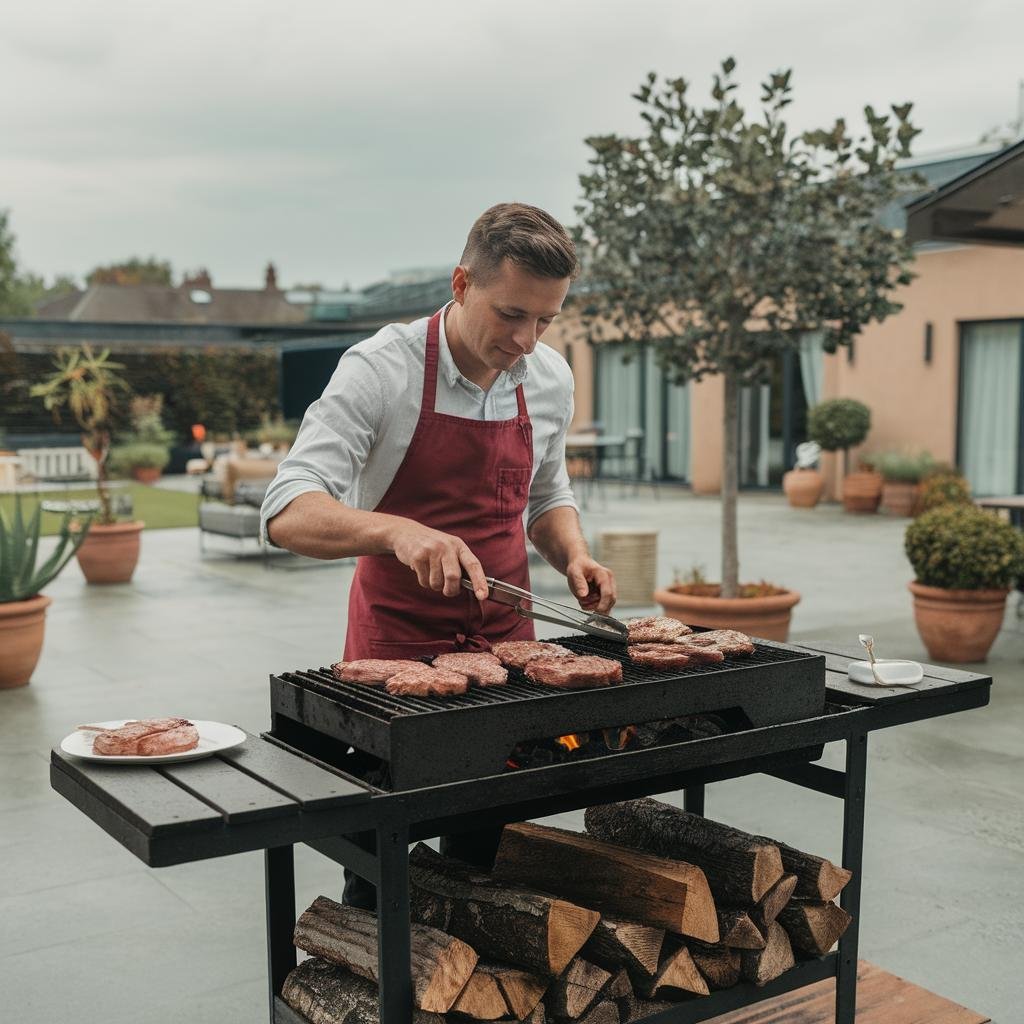
The grill and sear method is a popular choice for outdoor cooking enthusiasts. To start, preheat your grill to a temperature of 400-450°F. Season your steaks with salt and pepper or your favorite rub, then place them on the hot grill. Sear each side for approximately 2 minutes to achieve a mouthwatering crust. To ensure your steaks are cooked to perfection, use an instant-read thermometer to check the internal temperature.
Pan Sear
When it comes to cooking indoors, the pan sear method is a fantastic option. Start by heating a sizzling hot iron skillet or frying pan over high heat. Season your steaks, then carefully place them in the hot pan. Allow each side to sear for about 2 minutes. For the finishing touch, transfer the seared steaks to a hot oven to complete the cooking process. This method is perfect for achieving a flavorful crust and a juicy interior.
Reverse Sear
The reverse sear method is a unique approach that starts with slow cooking in the oven and finishes with a final sear in a pan. Begin by baking your steaks in the oven at a low temperature, around 250°F, until they reach an internal temperature of about 10-15 degrees below your desired doneness. Then, heat a pan over high heat, add a touch of oil, and sear the steaks for a couple of minutes on each side. This method allows for even cooking and provides a beautifully seared exterior.
No matter which method you choose, having the right searing tools and equipment is essential for success. Make sure you have a reliable grill, an oven-safe skillet or frying pan, and an instant-read thermometer to achieve the perfect sear every time.
The Importance of Pre-salting and Resting the Steak
When it comes to achieving the perfect sear on your steak, pre-salting and resting the meat before cooking are two crucial steps that should not be overlooked. Not only do these techniques enhance the flavor and texture of the steak, but they also contribute to the overall searing benefits and professional searing techniques.
Pre-salting: Before cooking your steak, generously season it with salt and allow it to sit for a minimum of 40 minutes or even overnight in the refrigerator. This process not only seasons the meat throughout but also allows the salt to be reabsorbed, resulting in intensified flavors when the steak is cooked. Additionally, pre-salting promotes better browning during the searing process, creating a desirable crust on the surface of the meat.
Resting the steak: After pre-salting, it is essential to let the steak rest at room temperature for about 30 minutes before cooking. During this resting period, the salt draws out moisture from the meat, forming a brine. This brine then breaks down the muscle structure of the beef, resulting in a more tender and juicy steak. Resting also allows the salt and brine to penetrate deeper into the meat, ensuring that the seasoning goes beyond just the outer surface.
By pre-salting and resting your steak, you set the stage for a truly exceptional searing experience. The flavors are enhanced, the texture is improved, and the overall searing benefits are maximized.
Benefits of Pre-salting and Resting the Steak:
- Enhances the flavor by allowing the salt to fully season the meat
- Promotes better browning and caramelization during searing
- Creates a desirable crust on the surface of the steak
- Breaks down the muscle structure, resulting in a more tender and juicy steak
- Allows the salt and brine to penetrate deeper into the meat, providing built-in seasoning
Professional Searing Techniques:
- Generously season the steak with salt and let it pre-salt for at least 40 minutes or overnight in the refrigerator.
- Allow the steak to rest at room temperature for about 30 minutes before cooking to let the brine form and penetrate the meat.
- Use the pre-salted and rested steak for your preferred searing method, such as grill and sear, pan sear, or reverse sear.
- Follow the recommended searing times and temperatures for the chosen method to achieve the perfect sear.
Pre-salting and resting the steak are simple techniques that yield remarkable results. By incorporating these professional searing techniques into your cooking routine, you can elevate your steak to new levels of flavor and tenderness.
The Art of Flipping and Basting the Steak
When it comes to achieving the perfect sear on your steak, mastering the art of flipping and basting is essential. These searing tips and tricks, along with professional searing techniques, will help you create a flawlessly seared steak that is bursting with flavor.
While many people believe that flipping the steak only once is the key to a successful sear, the truth is that flipping it back and forth can actually maximize browning while minimizing the risk of an overcooked layer under the surface. By flipping the steak frequently, you ensure that both sides are evenly cooked and develop a beautiful crust.
Contrary to popular belief, using a fork to poke the steak or slashing it open with a knife does not significantly impact the juiciness. Research suggests that these techniques do not cause significant moisture loss. So feel free to use your utensils to check the doneness or make any necessary adjustments during the cooking process.
“Flipping the steak back and forth as it cooks maximizes browning while minimizing an overcooked layer under the surface.”
Another crucial step in achieving a delicious sear is basting the steak with butter or a mixture of butter and oil. As the steak cooks in the hot skillet, basting it with fats helps enhance the flavor and texture. The butter adds richness and the oil helps distribute the heat more evenly, ensuring a perfect sear.
For the best searing results, it’s recommended to use a heavy skillet, such as a cast iron skillet, and heat it on high heat. The heavy skillet retains and distributes heat more effectively, allowing for a consistent sear across the entire surface of the steak.
To visualize the process, here’s a helpful illustration of the art of flipping and basting a steak:
| Step | Description |
|---|---|
| 1 | Preheat a heavy skillet, such as a cast iron skillet, on high heat. |
| 2 | Season the steak with salt and pepper. |
| 3 | Place the steak in the hot skillet and sear it for 2 minutes on each side. |
| 4 | Flip the steak frequently to ensure even browning. |
| 5 | Baste the steak with butter or a mixture of butter and oil during the cooking process. |
| 6 | Use an instant-read thermometer to check the doneness of the steak. |
| 7 | Let the steak rest for a few minutes before serving to allow the juices to redistribute. |
The art of flipping and basting the steak is all about precision and technique. By following these searing tips and tricks, along with utilizing professional searing techniques, you’ll be able to elevate your steak game and impress your friends and family with perfectly seared, mouthwatering steaks every time.
The Benefits of Pan Searing
Pan searing steaks offers several benefits. Firstly, it allows for quick and easy cooking, making it a convenient option for weeknight dinners. The high heat of the pan creates a flavorful crust on the steak while maintaining a juicy and tender interior. Pan searing also allows for better control over the cooking process, as the skillet can be easily adjusted to achieve the desired doneness.
Additionally, pan searing produces delicious drippings that can be used to make a flavorful sauce or jus to accompany the steak.
“Pan searing steaks offers several benefits. Firstly, it allows for quick and easy cooking, making it a convenient option for weeknight dinners. The high heat of the pan creates a flavorful crust on the steak while maintaining a juicy and tender interior.”
In summary, pan searing is a versatile and efficient method for cooking steaks, offering convenience, flavor, and control over the cooking process. The resulting juicy and tender steaks, along with the flavorful drippings, make pan searing a popular choice for home cooks and professional chefs alike.
Choosing the Right Cut and Thickness, and Recommended Seasonings
When it comes to pan searing steaks, selecting the right cut and thickness is crucial for achieving optimal results. Two popular choices for pan searing are filet mignon and rib-eye steaks, known for their tenderness and rich flavor. These cuts are excellent options for those looking to elevate their searing recipes with professional techniques.
To ensure a perfectly cooked steak, it is recommended to ask your butcher for custom-cut steaks with a minimum thickness of 2 inches. The thicker the steak, the slower the heat will penetrate its center during the searing process. This allows for a well-seared exterior and a juicy, tender interior, resulting in a mouthwatering steak every time.
Seasoning plays a vital role in enhancing the flavor profile of your pan-seared steaks. Simple yet effective, a combination of salt and pepper is a classic choice. Seasoning the steaks before cooking allows the flavors to penetrate the meat, resulting in a well-seasoned bite. Feel free to experiment with other desired spices, rubs, or marinades that complement the flavor profile you wish to achieve.
Recommended Seasonings:
- Salt and Pepper: The backbone of any savory seasoning.
- Garlic Powder: Adds a subtle yet tantalizing flavor to the meat.
- Onion Powder: Provides a savory and slightly sweet note to the searing process.
- Paprika: Adds a mild smokiness and vibrant color to the steak.
- Herbs (e.g., Rosemary, Thyme): Infuses the steak with aromatic qualities.
By selecting the right cut, thickness, and seasonings, you can enhance the flavors of your pan-seared steaks and achieve professional-level results. With a well-marbled rib-eye or a tender filet mignon, along with the perfect balance of seasonings, your pan-seared steaks will be a delightful centerpiece for any meal.
The Pan Searing Process
The pan searing process is a crucial step in achieving the perfect sear on your steaks. Follow these professional searing techniques to enhance the flavor and texture of your meat.
To begin, preheat your oven to 425°F. This will ensure that the internal temperature of the steak reaches the desired level of doneness once it finishes cooking in the oven.
Next, heat an oven-safe skillet on high heat. This will create the ideal surface for searing your steaks and achieving that beautiful crust. Make sure to choose a skillet that can withstand high heat without warping or damaging the handle.
The steaks should be seasoned generously with salt and pepper or your preferred seasoning blend. This will add flavor and enhance the overall taste of the meat.
Pro tip: A pat of butter can be added to the skillet before searing the steaks for an added layer of richness and flavor.
Now, it’s time to sear the steaks. Place them in the hot skillet and let them cook undisturbed for about 2 minutes on each side. This will create a beautiful caramelized crust on the surface of the meat.
Once both sides of the steaks are seared, transfer the skillet to the preheated oven. This will ensure even cooking and allow the steaks to reach the desired level of doneness.
Using an oven-safe thermometer is highly recommended to accurately monitor the internal temperature of the steaks. This will help you achieve the perfect level of doneness, whether you prefer rare, medium-rare, medium, or well-done.
After the steaks are cooked to your desired level, remove them from the oven and let them rest for 5 minutes before serving. This resting period allows the juices to redistribute within the meat, resulting in a more tender and succulent steak.
Mastering the pan searing process is an essential skill for any home cook or grill enthusiast. By following these professional searing techniques, you can achieve restaurant-quality steaks with a perfect sear every time. The combination of high heat, seasoning, and careful monitoring of the cooking process will result in juicy, flavorful steaks that will impress your family and guests.
Conclusion
Searing is a versatile technique that can elevate the flavor and appearance of steaks and burgers. By understanding the principles behind searing and using the right methods and tools, anyone can achieve the perfect sear on their meat. Pre-salting, flipping, basting, and choosing the right cut and thickness are key factors in the searing process. Whether grilling, pan searing, or using the reverse sear method, the goal is to create a flavorful crust while maintaining a juicy and tender interior. With practice and experimentation, mastering searing techniques can take anyone’s grilling game to the next level.
When it comes to searing, it’s important to follow the best practices and professional techniques. Pre-salting the steak and allowing it to rest allows the flavors to develop and the meat to become more tender. Flipping the steak frequently and basting it with butter or a mixture of butter and oil enhances the flavor and texture during the searing process. Choosing the right cut and thickness of steak ensures even cooking and a perfect sear. Experimenting with different methods, such as grill and sear, pan sear, or reverse sear, can provide unique and delicious results.
Whether you’re a seasoned grilling enthusiast or a novice in the kitchen, practicing searing techniques can help you create mouthwatering steaks and burgers that will impress your family and friends. So fire up the grill or heat up that skillet, and get ready to enjoy the incredible flavors and textures that professional searing techniques can bring to your favorite cuts of meat. With the right knowledge and a little bit of skill, you’ll be able to achieve that perfect sear every time and take your cooking to the next level.
References

Ryan Conlon is a BBQ enthusiast and inspired chef on a journey through the smoky, savory world of outdoor cooking. Hailing from the heart of the Midwest, Ryan’s passion for grilling ignited during his early years, where family gatherings often revolved around the sizzle of the grill and the aroma of seasoned meats.

