Disclosure: This Post Contains Affiliate Links; We earn a commission on purchases.
Grilling is not just a cooking method; it’s a way of life. Whether you’re hosting a backyard BBQ, enjoying a picnic at the park, or simply craving the smoky flavors that only grilling can provide, this ultimate guide has got you covered. From mastering grill temperatures to cleaning and oiling the grill grates, we’ll take you through every step of the grilling process, ensuring that you become a grill master in no time.
Are you a beginner? No worries! We’ll provide you with all the tips, techniques, and safety precautions you need to get started on your grilling journey. And if you’re already a seasoned pro, we have plenty of tricks up our sleeves to take your skills to the next level.
Ready to dive in? Let’s explore the world of grilling and unlock the secrets to outdoor cooking success!
Key Takeaways:
- Master grill temperatures to achieve perfect cooking results.
- Clean and oil your grill grates for a hassle-free grilling experience.
- Know when and how to flip food and when to open the grill lid.
- Grill meat to the proper temperature for both safety and flavor.
- Allow meat to rest before slicing to maximize juiciness and tenderness.
The Importance of Preheating and Grill Temperature
When it comes to grilling, preheating your grill is a step that should never be skipped. Preheating not only ensures even cooking but also prevents food from sticking to the grill grates. So, before you start cooking, make sure to give your grill enough time to heat up properly.
The recommended grill temperature will vary depending on the type of grilling you’re doing. Whether you’re searing a steak, grilling vegetables, or slow-cooking ribs, understanding the optimal grill temperature is key to achieving delicious results.
To help you get started, here are some general guidelines for grill temperatures:
- High heat: Ideal for searing steaks and other cuts of meat that require a charred exterior and a juicy interior.
- Medium heat: Suitable for grilling chicken breasts, pork chops, and vegetables.
- Low heat: Perfect for slow-cooking ribs, roasts, or smoking meats.
Keep in mind that these are just general guidelines, and the specific grill temperatures may vary depending on the recipe or personal preference. It’s always a good idea to consult a reliable recipe or grilling guide for precise temperature recommendations.
Now, let’s take a look at some specific foods and their recommended grill temperatures:
| Food | Recommended Grill Temperature |
|---|---|
| Steak (medium-rare) | 450°F (230°C) |
| Chicken breast | 375°F (190°C) |
| Salmon fillet | 400°F (200°C) |
| Corn on the cob | 350°F (175°C) |
Remember, these temperatures are just guidelines, and it’s essential to use an instant-read thermometer to ensure your food reaches the proper internal temperature for safety and doneness.
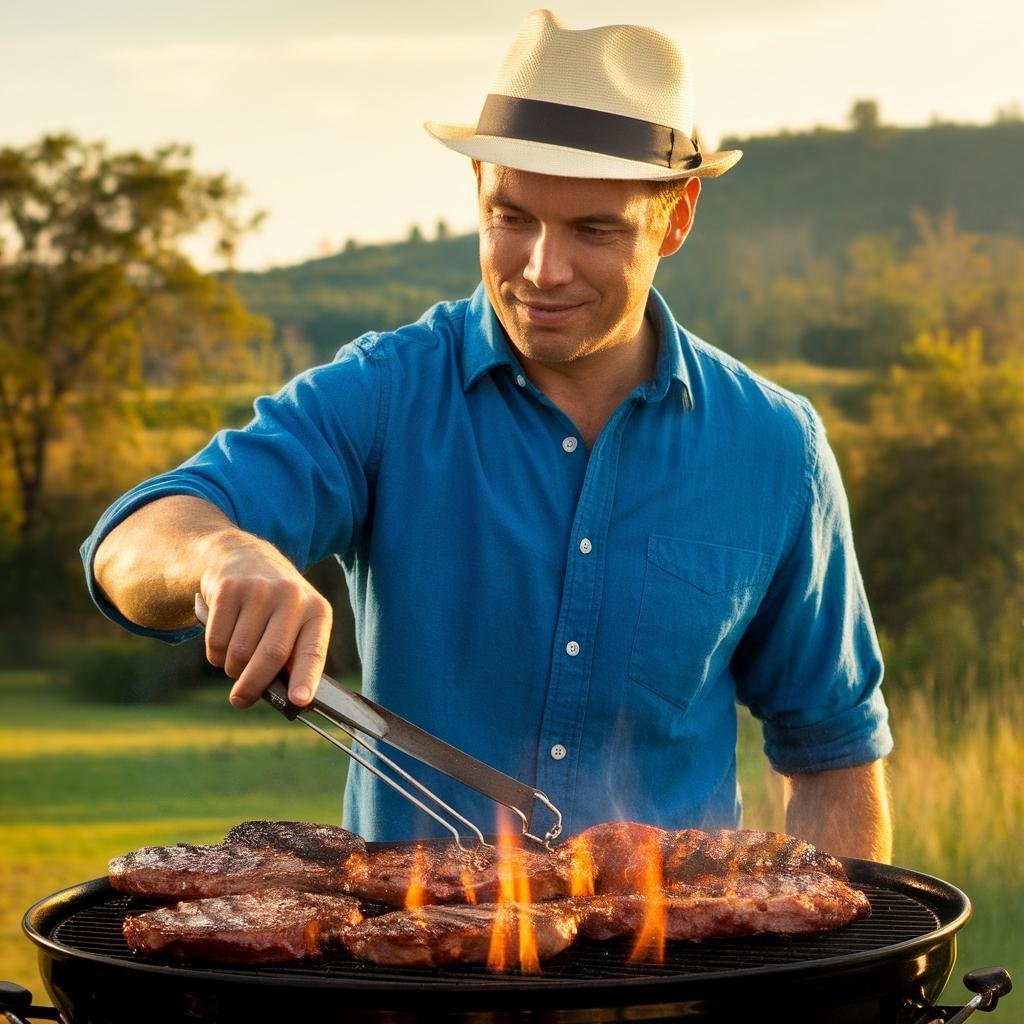
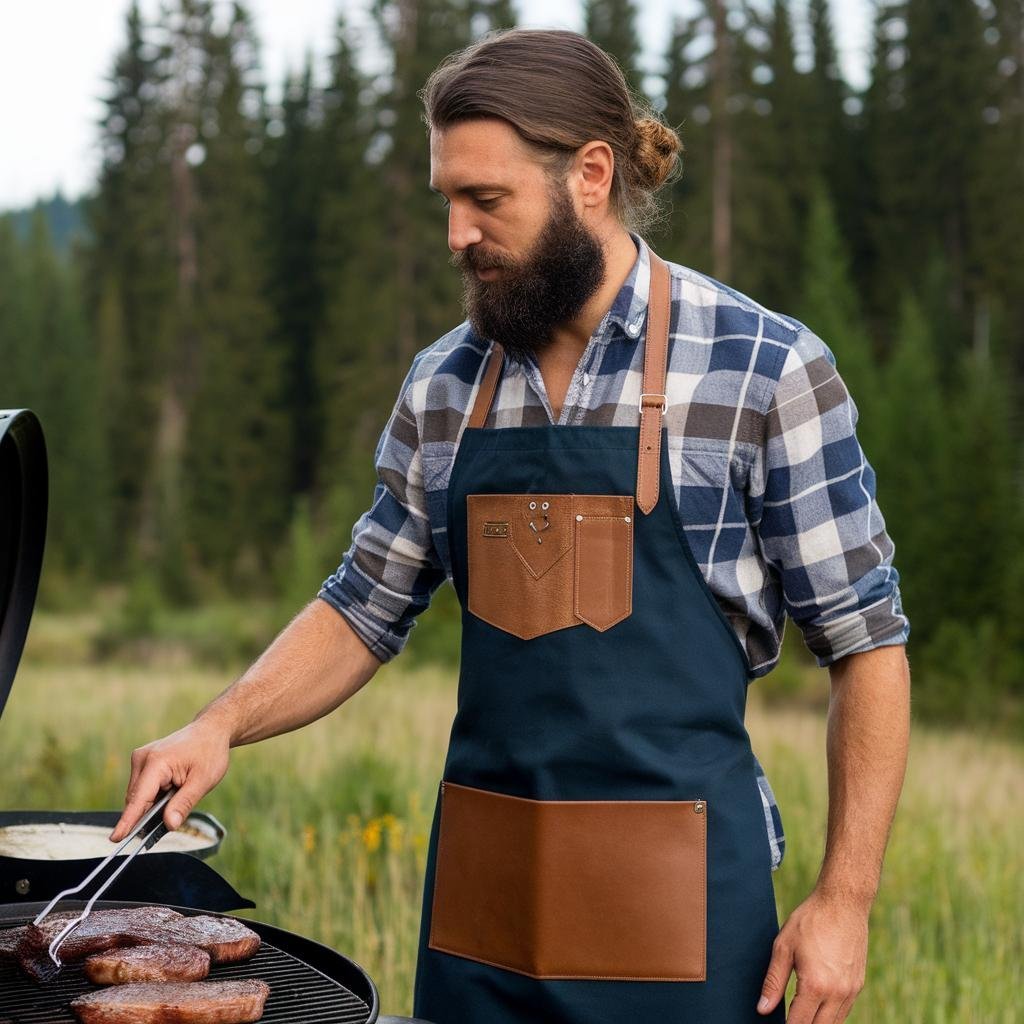
Before we move on, let’s take a moment to appreciate the mouthwatering possibilities of grilling. Feast your eyes on this appetizing image of a perfectly grilled steak:
Now that you understand the importance of preheating and grill temperature, you’re ready to take your grilling skills to the next level. In the next section, we’ll explore the key steps to cleaning and oiling the grill grates for optimal grilling results.
Cleaning and Oiling the Grill Grates
Keeping your grill grates clean and properly oiled is essential for preventing food from sticking and ensuring a flavorful grilling experience. Neglecting to clean the grates can result in unpleasant flavors and burnt residue that affects the taste of your food. Additionally, dirty grates can harbor bacteria and other contaminants, posing a risk to your health.
When it comes to cleaning your grill grates, there are a few methods you can use based on the type of grates you have.
- For cast iron or stainless steel grates, start by heating your grill on high for 15 minutes. This will help to loosen any food particles or residue.
- Once the grill is hot, use a grill brush to scrub the grates. Make sure to use a brush with sturdy bristles that can remove any stubborn debris.
- After scrubbing, use a damp cloth or paper towels to wipe away any remaining residue.
In addition to regular cleaning, it’s important to oil your grill grates before each use. Oiling the grates creates a non-stick surface and helps to enhance the flavors of your food.
Here are some tips for oiling your grill grates:
- Use a high-heat cooking oil such as canola or grapeseed oil.
- Apply the oil to a folded paper towel and use tongs to rub the oil onto the grates.
- Alternatively, you can use a non-stick cooking spray specifically designed for grilling.
- Make sure to oil both sides of the grates to create an even non-stick surface.
By regularly cleaning and oiling your grill grates, you can ensure a smooth grilling experience and deliciously cooked food every time.
Flipping and Opening the Grill Lid
Flipping food on the grill and properly managing the grill lid are essential skills every griller should master. Knowing when and how to flip your food can result in perfectly cooked, flavorful meals. Opening and closing the grill lid at the right times ensures optimal heat retention and prevents flare-ups. Let’s explore some guidelines for flipping food and handling the grill lid to enhance your grilling experience.
Flipping Food on the Grill
Flipping food is a critical step in achieving even cooking and delicious grill marks. Here are some tips to keep in mind:
- Use a long-handled spatula or grilling tongs to flip food. This ensures proper grip and minimizes the risk of burning yourself.
- Only flip food once. Constantly flipping can interfere with the cooking process and result in unevenly cooked food.
- Avoid pressing down on the food with the spatula. This can squeeze out the juices and make the food dry.
- For delicate foods like fish or burgers, consider using a grill basket or grilling mat to prevent them from falling apart during flipping.
Remember to always follow specific recipe instructions for flipping times or use a food thermometer to ensure meat is cooked to the appropriate temperature.
Opening the Grill Lid
The grill lid plays a crucial role in maintaining a consistent cooking temperature, especially for longer grilling sessions. Here are some tips for opening the grill lid safely:
- Avoid repeatedly lifting the grill lid to check on the food. Each time you open the lid, you lose valuable heat.
- Keep the lid closed for most of the cooking time to ensure optimum heat retention and consistent cooking.
- Only open the lid when necessary, such as when flipping food, basting with sauce or marinade, or checking for doneness with a thermometer.
- If using a gas grill, be cautious when opening the lid after igniting. Sudden bursts of flames can occur if excess gas has accumulated.
By following these guidelines, you can achieve perfectly cooked, flavorful meals while maintaining grilling safety. It’s time to take your grilling skills to the next level!
| Pro Tips for Flipping and Opening the Grill Lid |
|---|
| Use a long-handled spatula or grilling tongs for easy and safe flipping |
| Avoid pressing down on the food with the spatula to retain juiciness |
| Keep the grill lid closed as much as possible for consistent cooking |
| Open the grill lid only when necessary to avoid heat loss |
| Use a grill basket or grilling mat for delicate foods to prevent them from falling apart |
Grilling Meat to the Proper Temperature
Grilling meat to the proper temperature is essential to ensure food safety and achieve the best flavor and texture. Whether you’re cooking beef, pork, or chicken, it’s crucial to know the recommended internal temperatures to avoid undercooked or overcooked meat.
To help you grill meat to perfection, here are some general guidelines for the minimum safe internal temperatures:
| Meat | Minimum Safe Internal Temperature (°F) |
|---|---|
| Beef (steaks, roasts, and burgers) | 145 (medium-rare) to 160 (medium-well) |
| Pork (chops, roasts, and ground) | 145 (medium-rare) to 160 (medium-well) |
| Chicken (breasts, wings, and thighs) | 165 |
It’s important to note that these temperatures are the minimum safe internal temperatures recommended by the USDA. If you prefer your meat to be more well-done, you can cook it to a higher temperature, but be cautious not to overcook it, as it can result in dry and tough meat.
Now, let’s talk about carryover cooking. Carryover cooking is a phenomenon where meat continues to cook even after it’s taken off the grill. It occurs because the internal temperature of the meat rises as the heat from the exterior transfers to the center. To account for carryover cooking, it’s recommended to remove the meat from the grill when it’s a few degrees below the desired final temperature. The residual heat will continue to cook the meat to the perfect doneness while it rests.
An instant-read thermometer is a must-have tool for grilling meat to the proper temperature. Here’s how you can use it:
- Insert the thermometer probe into the thickest part of the meat, avoiding any bones or fat.
- Wait for a few seconds until the reading stabilizes.
- Check the temperature to ensure it reaches the recommended minimum safe internal temperature for that particular meat.
By following these guidelines and using an instant-read thermometer, you can confidently grill meat to the perfect temperature, ensuring both food safety and a delightful culinary experience.
The Importance of Allowing Meat to Rest
Allowing grilled meat to rest after cooking is a crucial step that many people overlook. This simple technique plays a significant role in enhancing the juiciness, tenderness, and overall flavor of the meat. When meat is cooked, the heat causes the juices to move to the center. Allowing the meat to rest gives these juices time to redistribute throughout the entire piece of meat, resulting in a more succulent and delicious meal.
Resting meat is particularly important for larger cuts like roasts, steaks, and whole poultry. However, it is a good practice to let all grilled meats rest for a few minutes before serving. This allows the fibers in the meat to relax, making it easier to carve and ensuring that every bite is moist and flavorful.
The Benefits of Allowing Meat to Rest
Resting meat offers several benefits that contribute to a superior dining experience:
- Increased Juiciness: Allowing meat to rest prevents the juices from flowing out immediately when the meat is cut. This helps retain the natural moisture within the meat, resulting in a juicier and more flavorful bite.
- Improved Tenderness: Resting meat allows the muscle fibers to relax, making the meat more tender. This is especially important for tougher cuts of meat that require additional cooking time.
- Optimal Flavor Development: During the resting period, the residual heat continues to cook the meat slightly. This gentle cooking process allows the flavors to develop further, enhancing the overall taste of the dish.
To maximize the benefits of resting meat, it is essential to follow some general guidelines:
- For smaller cuts of meat like steaks, chops, and chicken breasts, allow them to rest for about 5 minutes.
- Larger roasts, such as whole chickens or beef roasts, require a longer resting time to ensure optimal juiciness and tenderness. Aim for a rest period of at least 15 to 20 minutes.
- During the resting period, consider tenting the meat with foil. This helps to retain heat and prevents the surface from cooling too quickly while the internal temperature equalizes.
Expert Tip: Resting Times for Different Meats
Here are some recommended resting times for various cuts of meat:
| Meat Type | Resting Time |
|---|---|
| Steak (1-inch thickness) | 5 minutes |
| Chicken breasts | 5 minutes |
| Pork chops | 5 minutes |
| Whole chicken | 15-20 minutes |
| Pork roast | 15-20 minutes |
| Beef roast | 15-20 minutes |
By following these resting times, you can ensure that your grilled meats are at their absolute best when served. Take the extra few minutes to allow the meat to rest, and you’ll be rewarded with incredibly moist, tender, and flavorful results.
Food Safety Guidelines for Grilling
When it comes to grilling, food safety should always be a top priority. By following these essential guidelines, you can ensure that your grilled meals are not only delicious but also safe to consume. Here are some important food safety tips to keep in mind:
1. Use Separate Cutting Boards
To prevent cross-contamination, always use separate cutting boards for raw and cooked foods. This helps to minimize the risk of harmful bacteria spreading from raw meats to other ingredients.
2. Refrigerate Marinated Meat
Marinating meat adds flavor, but it’s important to marinate in the refrigerator, not at room temperature. This helps to prevent the growth of bacteria that can cause foodborne illnesses.
3. Avoid Basting with Uncooked Marinade
While it may be tempting to baste your grilled food with the delicious marinade, avoid using the same marinade that you used to marinate raw meat. Instead, set aside a portion of the marinade to use exclusively for basting or make a fresh batch.
4. Cook Meat to the Proper Temperature
Make sure that your grilled meat reaches the appropriate internal temperature to kill any harmful bacteria. Use a food thermometer to ensure that meat is cooked to the recommended safe temperature. Here are some general guidelines:
| Meat Type | Safe Internal Temperature |
|---|---|
| Chicken and turkey | 165°F (74°C) |
| Ground meats (beef, pork, lamb, veal) | 160°F (71°C) |
| Steaks, roasts, and fish | 145°F (63°C) |
Remember to always check the specific guidelines for the type of meat you are grilling, as cooking temperatures can vary.
5. Practice Good Hygiene
Wash your hands thoroughly before and after handling raw meat to prevent the spread of bacteria. Use warm, soapy water for at least 20 seconds to ensure proper sanitation.
Tip: To avoid contamination, designate separate utensils and plates for raw and cooked foods. This minimizes the risk of cross-contamination and keeps your grilled meals safe to eat.
By following these food safety guidelines, you can enjoy a safe and enjoyable grilling experience. Remember, proper food handling and cooking techniques are key to preventing foodborne illnesses and ensuring the health and well-being of your loved ones.
Continue reading to Section 8 for the conclusion of our ultimate guide to grilling, where we recap the valuable grilling tips, techniques, and safety precautions covered throughout the article.
Conclusion
Grilling is more than just a cooking method—it’s an art that can elevate your culinary skills and bring joy to your outdoor gatherings. With the help of this ultimate guide to grilling, you now have the knowledge and tips to become a true grill master.
By following the expert advice and techniques provided, you can confidently grill a wide variety of foods to perfection, from juicy steaks to tender chicken and flavorful vegetables. Experiment with different BBQ techniques and explore new flavors to create unforgettable meals that will impress your friends and family.
However, while grilling can be a fun and delicious experience, it’s crucial to prioritize safety. Always adhere to grilling safety tips, such as cleaning and oiling the grill grates, preheating the grill to the recommended temperature, and using proper food safety guidelines. These precautions will ensure that your grilling adventures are not only enjoyable but also safe for everyone involved.
So, fire up the grill, embrace your inner grill master, and savor the flavors of outdoor cooking. With the ultimate guide to grilling as your trusty companion, you’re ready to embark on a journey of culinary excellence and create mouthwatering grilled masterpieces. Enjoy the process, share your delectable creations, and let the aromas of a perfectly grilled meal fill the air. Happy grilling!
References

Ryan Conlon is a BBQ enthusiast and inspired chef on a journey through the smoky, savory world of outdoor cooking. Hailing from the heart of the Midwest, Ryan’s passion for grilling ignited during his early years, where family gatherings often revolved around the sizzle of the grill and the aroma of seasoned meats.

